Thursday, November 17, 2011

Holy Snow Batman!

I guess I should have seen it coming but it seems like winter came out of nowhere!!!
There is a blizzard warning out and about, which means cabin fever for me! lol
That's ok! I have been super duper busy with cutting vinyl for Super Saturday projects! As soon as I can get some photos of them, I will post them on here. They have been really fun to do!

In other news, I have designed my friend and cousin a business card for her up and coming cupcake and bakery she has... Here's what I have so far: What do you think? I love the colors!

Backside of the Cards

Front Size of Card

That's all for now... but stay warm and have a very merry winter storm!

Monday, August 22, 2011

Free Printable! :) - A Flower in Adversity

Hey Everyone!
I have taken a somewhat loooong break from blogland and I hope to make it up to you by offering this Sweet Printable from my Esty Shop...

Yes Yes.. I know it's bribery to keep you coming back...lol BUT all will come in Due time!

Mr. C and I just bought our FIRST HOUSE! 
We sign papers tomorrow! Ack!
I am super dee-duper excited!
You can expect a lot more "reno" and "trash to treasure" posts as I begin my journey as a home owner and want to dress it up right while on a limited budget...
The Front Yard! :D

Part of the Back Yard!
 Stay Tuned! More pics to come soon! :)

As for the meantime... Enjoy this Freebie!  
It will be active for at least a week!
Please DO NOT sell, or redistribute this item as your own. I work very hard on my subway art and would like to start offering more as freebies, so don't stop me before I start!

To make things Better....
I am offering Buy 2 Get 2 FREE at my etsy shop! Just make sure they are of equal or lesser value please...


xoxo!

Linking Up HERE:


Tip 
Junkie handmade projects


Wednesday, June 29, 2011

A few random facts about myself you might like to know....

I decided to compile this list after reading it on other blogs, so I thought it would be fun to share. Plus as my friends, you really should know these things about me...

I have NEVER EVER gotten a pedicure or manicure..
I usually end up spending that money on fabric or shoes instead!

 
Yes... I much rather spend it on Fabric! :)

My true favorite musicians of ALL TIME are Elvis Presley and the Beatles, but more so Elvis, by just a little bit. I collect movies, music and posters of that fine hunk of burnin Love! (my hubby has learned to deal, lol and has even bought me a poster!)
WHAT A HUNK!

 I think I was born in the wrong era. For as long as I can remember I have had a fascination with the 50's. Movies, Music, Decor, party dresses, you name it! Growing up I frequently dressed the part too.

 My ALL TIME favorite moive is Breakfast at Tiffany's. It is my go to movie when I am sad and never lets me down. It has seen me through thick and thin. I also sport a sweet Breakfast at Tiffany's poster in my craft room-basement.

 I HATE despise cleaning with a passion that burns deep within in. I will do anything to get out of it,and put it of as much as I can.

When I was 17, I was a local Rodeo Queen. 
My sister is on the Left and I on the right. Hot right?
 I could survive on Chocolate and Water alone. Seriously. It's an addiction.

I tend to start more than I finish projects.

I hate Cooking and LOVE Baking. 

I had blond hair (natural/dyed since 14)  until I was 22, then I dyed it dark red and it has been red ever since, though I very often catch myself thinking
"that would look good with my blond hair.."
Maybe Blonds do have more fun?

My graduating high school class had 17 students.
Can you see me? I'm blond! :)
I met my hubby 3 times before I even noticed him 
(I don't even remember the first time he says we met)

I LOVE working out... I just lack motivation to get started sometimes... the more someone tells me I suck, the harder I push... stupid right?

I am the oldest of 6 kids.
This Pic was taken in 2005... but my mom has all the recent ones of us!
I cannot paint my toenails without getting nail polish everywhere.
It's ok though, it comes off in the shower!

I never buy anything I know I can make myself.
Even if that means I never make it.

I think thats about all, I am sure I will come up with more after I hit publish. If you decide to do this, please let me know! I would love to come read!

xoxo

Thursday, June 23, 2011

Time to Catch Up!

Hello Friends!
I know it has again been too long since I last posted... I am very sorry, but I do feel better that I have posted more in the last month than I have in the last year! :) Horray Me!

So where have I been? What have I been doing?
I feel like I have been running around like a chicken without a head! 
I cannot seem to catch up to the ever growing list in my brain! (there's got to be something for that... lol)I said I was going to cut back and I plan on it, but,...........
my husband and I have decided to take the leap and buy our first House! {EEEK} I am so nervous and excited all at the same time. 
Needless to say I have spent countless hours pouring over homes in our city, Edmonton, Alberta and while we have found a few we like, we just haven't found the "one" I am not even sure it exists {?}
If it does and you have experienced this before, then Please tell me! I would appreciate all the advice I can get my little gluey-hands on!
Other than that, here are a few things that I have been making for some friends, please be sure to check out their shops too! I just love all these amazing women!

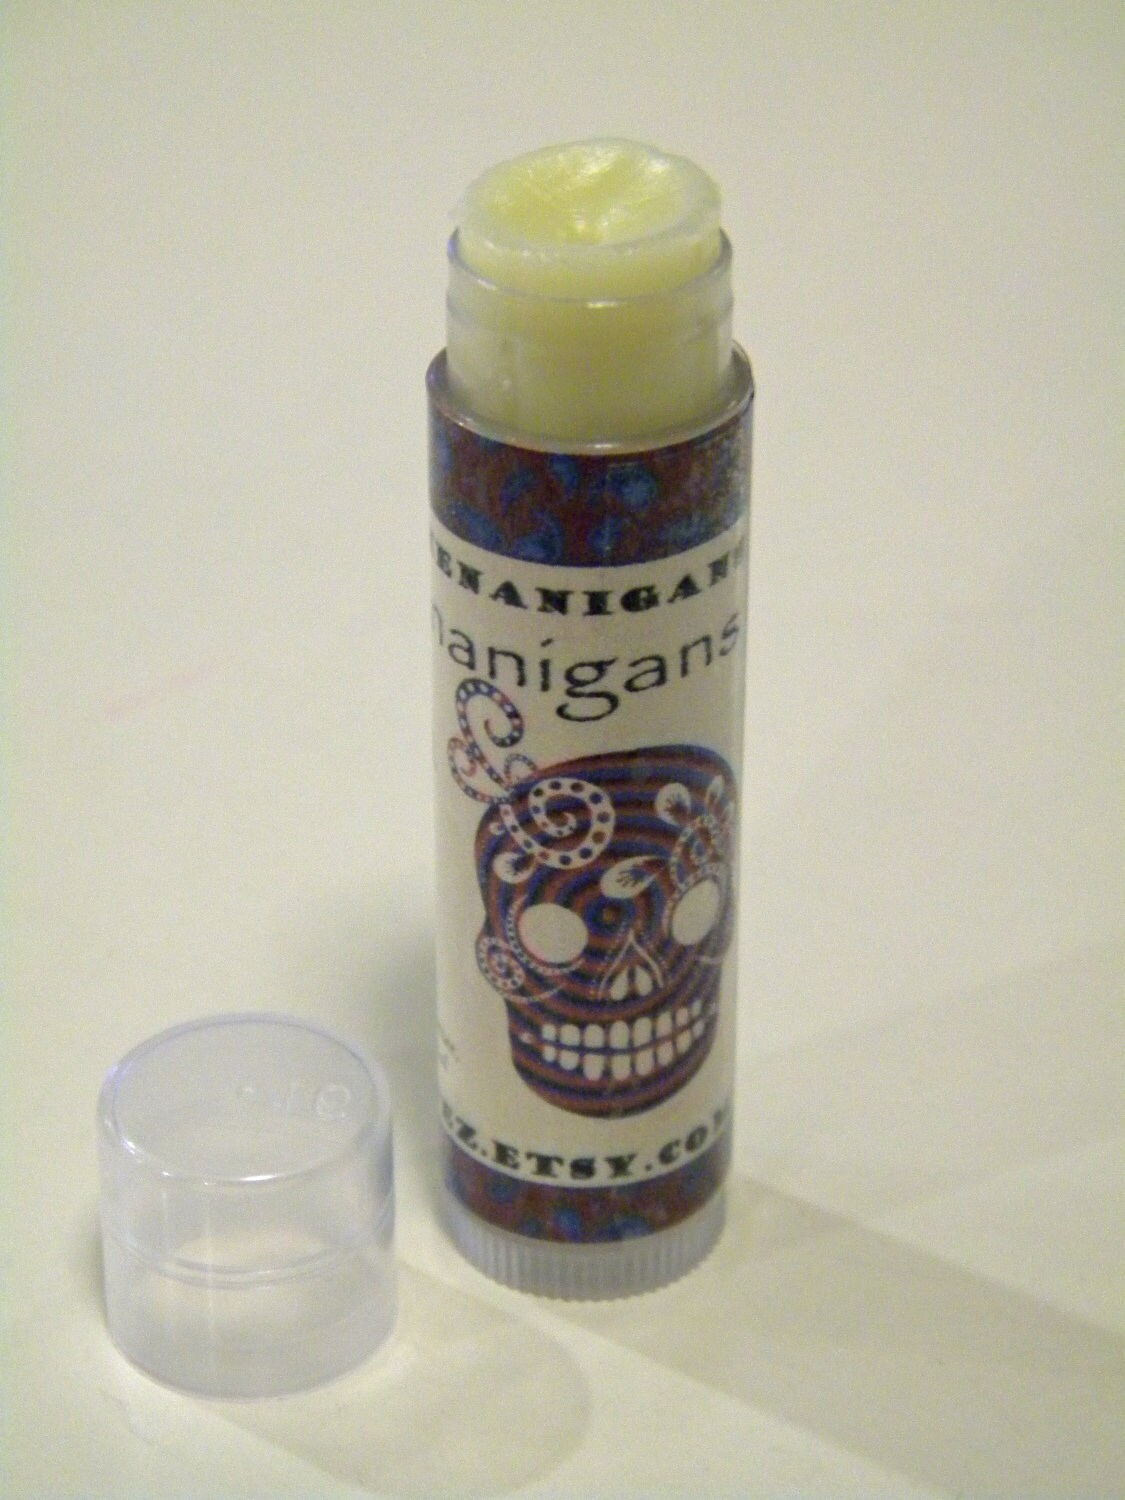
This is a TOTALLY Awesome Lip Balm Label I made for Christina over at her 


 A Custom Etsy Shop Set I am still working on for Kristine over at
Her Brand New Shop, PiixlWix Candle Company
{As I finish more of her shop, I will be Sure to show you... it's been the biggest challenge yet, but SO much FUN!}
  A totally fun Menu Planner done on a Custom Order... 
{I can customize everything and do so an no extra charge! ;) }

 A Mommy Calling Card Custom
{I have changed her name, sons name and all info to keep privacy and confidentiality, I Do NOT tolerate sharing that kind of info.}

I am also in the works on a few more Custom Shop sets, new blog designs (as my new header, etc) and I am Dieing to do some more Subway Art... I am feeling like my Kitchen is being neglected lately... {wink wink}

Anyways, Thanks for being patient with me and sticking by my side through all my craziness! 
I Appreciate it MORE than you will ever know! :)
xoxo

Wednesday, June 15, 2011

What to DO!!!! :S Plus an AWESOME Tutorial!

Came across the COOLEST tutorial today! I will call it..... dadadadada dun.. The TUTORIAL of the DAY! lol

I scour only about 20 different blogs daily and see cool things everyday... which in turn sometimes motivates me to start making things myself... sometimes that is, it also sometimes encourages me to blog more. Sigh, why does life have to be so busy!!? 

Why can't we all just sit back, relax and enjoy the view?

On the other hand after 1 week of that I would start to go crazy and my creative child inside would be ready to force her way out no matter what!
So with the summer coming and some great advice from my counsellor, (I have issues with depression)

I have decided to cut back and really focus on having more fun.
The problem is, where do I cut back when I want to do it all???

There are so many things that I have aspirations for that I can hardly stand it, and I think that it is truly cutting into my creative spirit... I am having a hard time designing much of anything right now.

Well there it is... time to cut back...

After a long list of things I really want to try, like setting my own website/blogger templates, I have decided that I really want to spend the summer sewing more.

From now on you can expect more ideas and tutorials (hopefully) around this category, including:

  • Little Boy Ties/bowties
  • Car seat Canopys
  • Blankets of various natures
  • Duvet covers/bedding/home decor
  • Some Awesome NEW bags! :D
  • Dresses for women and little Girls
  • The Launch of my Period Pouches
  • The Grand Opening to my new Shop on etsy: Sew Seraphic Designs
  • Plus any other cool thing I come up with, especially including Owls!

So there ya have it! I am gonna be a busy girl this summer and couldn't be happier! Of course I am still going to do a little designing here and there for Subway Art and other Printables... but it won't be my main focus.

To kick all this off I want to start with this AMAZING Tutorial found over at Vintage Revivals! Mandi is a true crafty inspiration! (plus she has been on TV, how cool is that?)

One day, I will be that cool I swear! :)

So check this goodness out... Using all your favorite fabric scraps you can make an awesome duvet!
Now why didn't I think of that?

isn't it just Gorgeous!!
Not to mention the rest of the room!
To check out the Full Tutorial yourself, go HERE.

While you are there be sure to look around... but get a glass of water and a snack, you could be there a while! ;)
Hopefully sooner than later I will have my own New Duvet to Show off!

XOXO

Friday, June 10, 2011

Love in June

So I just found this and realized I never did post it to my regular blog! lol Better Late than Never I guess! :D


This tutorial can really go a long way... 
 you can adapt and change and use it for a variety of methods, such as; instead of drawing hearts, you can draw other shapes, like polka dots :) Or you could stencil in some shapes (can be found in the wood painting section at your craft store, or you can go HERE for a tutorial to make your own stencils)

Either Way, HAVE fun with this!

I have to start off by saying that I really got the idea and inspiration for this from Ashley over at Lil Blue Boo, she is so creative and so inspiring! If you haven't read her blog, you should really take a look! Naturally I am also super inspired by Jenn at Tatertots and Jello, which is where I saw Subway Art for the first time I am sure.

This subway art is a blast to make
I really hope that a lot of you take some time to make one. This project has a particular way of letting your own creativity shine. Even people who don't think they are creative will be surprised with themselves. I am a really cheesy Valentine lover at heart, which is where I got all my inspiration for the wording. I just thought of all the cheesy things I would want to say to my husband and this is what I came up with!
Hope you enjoy and please stop by my blog and say hi! I would love more followers! :)


VALENTINE SUBWAY ART TUTORIAL:


MATERIALS:


  • Paint. I used Ceramcoat and Americana paints, in the following colors repsectively; charcoal, opaque red, pop pink, fuschia, fushcia pearl, think pink, rooster red and santa red (americana). Ideally you want 5 colors minimum. A base color, 3 block colors, a stencil/shape color and a overlay color.
  • A thin hardboard canvas at 11 x 14 inches. Usually they come in packs of 3. You can get them at walmart and at Michaels, as well as the dollar store (though they only have smaller sizes)
  • Painters Tape (mine is about 1.5 inches wide, and it is green from Walmart.
  • Sanding Block/Paper, not too rough
  • Paint brushes, foams about 5 or one for each color
  • Words. I used my own design in black vinyl lettering that I cut out with my silhouette. Though you can use regular paper and a printer too.
  • an open back frame, size 11 x 14
  • acrylic spray sealer
  • a pencil or stencils of your choice
  • plastic bowl

INSTRUCTIONS

1. Paint your hardboard your chosen base color. I would suggest a lighter color if you plan on using darker lettering, or a darker color if you use lighter lettering. Paint on at least 3 coats, the less you paint, the more the canvas will show through when you sand, this is all a personal choice. I find that the canvas showing through a little makes the end result a little more antique looking, which I like.          


  2. After the base is dry, place your painters tape into whatever shapes you would like. I like squares and rectangles, though I have seen some sweet triangles. Paint each open spot one of your block colors, as I have at least 6 to 9 shapes, I use the same 3 colors, 2 or 3 times. Paint at least 3 coats again, enough to coat it evenly and well. Let dry and pull off the painters tape. NOTE: If using darker lettering, make sure your blocks aren't too dark, and vice versa with lighter lettering... it doesn't turn out so well! I know it looks a little scary right now, and thats normal! I think that about EVERY subway art I make like this... just keep going!


3. While the blocks are drying, prepare you lettering, either with a printer, or a cricut or a silhouette.

4. When your board is dry, tape on your stencil, or draw some shapes onto it. I drew on some hearts with an HB pencil as lightly as I could.


5. Paint in your drawings or stencils again making sure you use at least 3 coats, maybe 4. You really want these shapes to show up. I also painted an outline around my hearts to make sure they would really show. Don't worry if they aren't perfect, the edges of my hearts were definitley fuzzy! Let dry.


6. Once that layer is dry, take your overlay color, which can be the same as the base color, or a slightly darker/lighter version, and place in a plastic bowl. Add a very small amount of water and mix until your paint is watery and thin. Paint over top of everything. The Paint should be thin enough that you can still see whats underneath for the most part. Let Dry.


7. Once it is dried, sand that baby down. I like to sand in circles for some reason. Sand harder in some places than in others. I sand enough so that little grains of white show through from the original canvas. (the vintage feel, especially with cream colors) When you are done, take a damp cloth or paper towel and wipe off the excess dust.


8. Now you can carefully place your lettering. Since I am using vinyl, I remove the transfer tape and rub it down. If you are using a printer and paper, then use mod podge to stick it on. Mod podge dries clear, is fun to pull off your fingers and will work awesome, just make sure you use enough and that you evenly coat the whole project.


9. Now take your almost complete project outside and spray it with acrylic sealer, this will allow you to dust it off when it needs and help the letters from peeling. (You can skip this step if you are using mod podge, as mod podge acts like a sealer). Let dry at least 10 minutes without touching, you don't want finger prints!

10. Place your finished piece of art in a nice open back frame and hang on your wall/ put on your shelf. Voila! Congrats! I bet it looks better than you thought it would! :)


Thanks for looking everyone! I had a great time.

Much Love!


www.periwinklepixies.blogspot.com
www.periwinklepixies.etsy.com